
A complete guide to large square baler knotter system maintenance — covering bill hook timing, needle alignment, twine tension, daily cleaning, pre-season rebuild procedures, and the diagnostic approach to identifying which component is causing missed or broken knots
The knotter system on a large square baler is the most mechanically complex sub-system in the entire machine, and it is the component most likely to generate client complaints, reduce throughput, and cause commercial reputational damage for a baling contractor. A bale with a missed knot or a broken twine band is immediately visible to any buyer and raises questions about the quality of every other bale in the session. A knotter failure that shuts the baler down for two hours during peak harvest is not just a mechanical inconvenience — it is a direct commercial loss measured in bales that were not made, and in some cases hay that spoiled in the windrow while the baler was stopped.
The frustrating characteristic of knotter problems is that they often appear suddenly in a machine that was working perfectly, and then resist easy diagnosis because the knotter system has six or more individual knotters, each with multiple interacting components, any one of which can cause the same external symptom — a missed knot — through entirely different internal failure modes. A missed knot caused by a worn bill hook looks the same in the field as a missed knot caused by incorrect twine tension, a damaged needle, or a blocked twine disc. Fixing the wrong component wastes time without solving the problem.
This guide provides a systematic approach to knotter maintenance and failure prevention: understanding how the knotter cycle works, what each component must do at each stage, the maintenance schedule that keeps the system in specification, the cleaning programme that prevents the most common cause of knotter failure, and the diagnostic framework that identifies the correct failed component from the symptom observed.
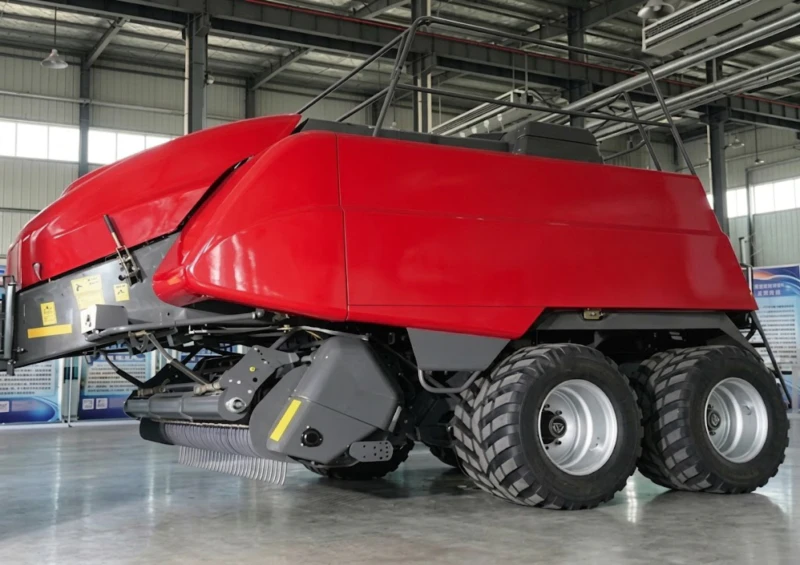
How the Knotter Cycle Works: Seven Steps That Must All Succeed
Understanding the knotter cycle is the prerequisite for diagnosing which step failed when a knot is missed. The cycle occurs once per bale and involves seven sequential events that must each succeed for the bale to be tied correctly. A failure at any step produces a missed or improperly formed knot.
As the bale is compressed, the needle carrier moves the twine from the twine box through guide tubes to the bottom of the bale channel. Twine accumulates along the bale length, lying against the bale face as each compression stroke pushes the bale forward.
When the bale reaches the set length, the bale length trip mechanism activates and the needle rises up through the bale channel, carrying the twine from below the bale to the knotter head above the bale channel. Timing of needle rise relative to the plunger retraction is critical — the needle must pass through the bale channel gap only when the plunger has fully retracted.
The needle tip presents the twine to the bill hook (the rotating hook that will form the knot). The twine must be presented at the correct position and tension for the bill hook to capture it reliably. Needle timing and twine tension from the tensioner disc jointly determine whether the twine is in the correct position for the bill hook to engage.
The bill hook rotates one complete revolution, capturing the twine presented by the needle and the existing bale twine, wrapping them together to form a loop. The bill hook’s beak must open at the correct rotational angle to capture the twine and close at the correct angle to hold it while the knot loop is stripped. Worn bill hook tips or incorrect timing produce failed capture or premature release.
The knot stripper arm sweeps the formed loop off the bill hook tip as the bill hook completes its rotation, which tightens the loop into a knot against the twine held by the twine disc. The stripper arm timing and contact pressure with the bill hook tip must be within specification — too early and the loop is stripped before it has closed; too late and the twine wraps around the bill hook rather than forming a knot.
After the knot is formed, the twine knife cuts the twine, separating the completed bale’s twine tail from the twine that will begin accumulating on the next bale. The knife must be sharp and positioned at the correct cutting angle — a blunt knife produces frayed cut ends that can jam in the twine guide on subsequent cycles.
The needle retracts back below the bale channel, ready to rise again at the next bale length trip. The twine tail of the cut is left trailing from the bale face. Incomplete retraction — typically from a worn needle guide or a bent needle — can place the needle in the path of the next plunger stroke, causing severe mechanical damage.
Daily Cleaning: The Single Most Effective Knotter Maintenance Practice
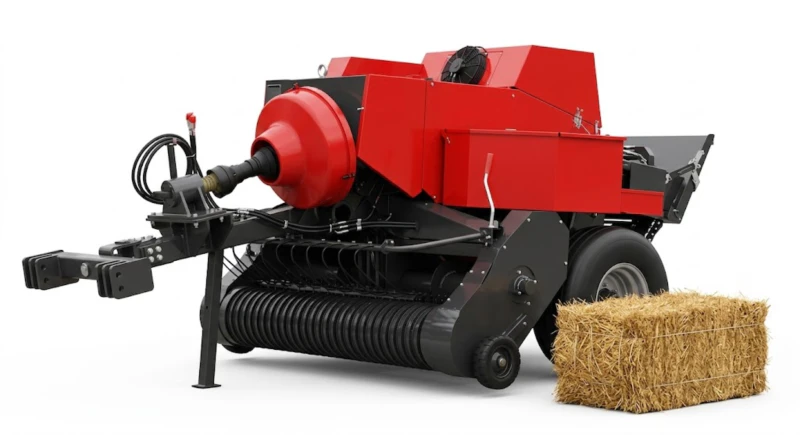
The leading cause of knotter failures in commercial baling operations is not mechanical wear — it is contamination. Chaff, dust, short twine fibre, and fine crop particles produced during baling accumulate in the knotter system throughout the working day, packing into the bill hook pivot, the twine disc slot, the needle guide channels, and the knot stripper arm contact face. This contamination builds up progressively — the knotter that produced perfect knots at the start of the day begins missing knots in the afternoon as the contamination reaches the point where it interferes with the precision movement of the knotter components.
The solution is systematic daily cleaning — blowing out every knotter on the machine with compressed air at the end of each working day, before the accumulated contamination has a chance to consolidate overnight into a packed deposit that is difficult to remove.
Daily Cleaning Procedure (All Six Knotters)
- Bill hook and pivot: Direct the compressed air nozzle into the bill hook pivot housing and blow through repeatedly until no more debris exits. Rotate the bill hook manually through its full range of motion while blowing — the pivot must move freely with no stiffness or resistance from packed debris.
- Twine disc and slot: The twine tensioner disc has a slot through which the twine runs during the knotting cycle. Pack this slot with chaff and the twine tension during knot formation changes, producing loose or failed knots. Blow through the slot from both faces and confirm the twine can be pulled through freely by hand after cleaning.
- Needle guide channel: The channel through which the needle rises and retracts must be free of debris that could deflect the needle tip from its correct path to the bill hook. Blow through the full length of the needle guide from top to bottom.
- Knot stripper arm: Clean the contact face of the stripper arm and the bill hook tip contact area. Debris on the stripper arm face changes the geometry of the stripping action and can produce knots that are stripped too early or at the wrong angle.
- Twine knife and knife holder: Clean crop debris from the knife edge and the knife holder slot. A debris-packed knife holder prevents the knife from reaching its full cutting travel, leaving twine partially cut rather than severed cleanly.
- Twine path from box to needle: Blow through all twine guide tubes and eyelets from the twine box to the needle tip. Twine fibres and fine debris accumulating in the guide path increase twine friction, which alters the effective twine tension at the knotter — one of the most common causes of intermittent missed knots that appear random but are actually caused by progressive guide path contamination.
Contractor rule of thumb: A missed knot that occurs in the afternoon but not in the morning of the same baling day is almost always a contamination problem, not a mechanical failure. The knotter was in specification at the start of the day and has not had time to wear out — it has had time to become dirty. Clean it before replacing any parts.
Knotter Timing and Adjustment: Keeping All Components in Specification
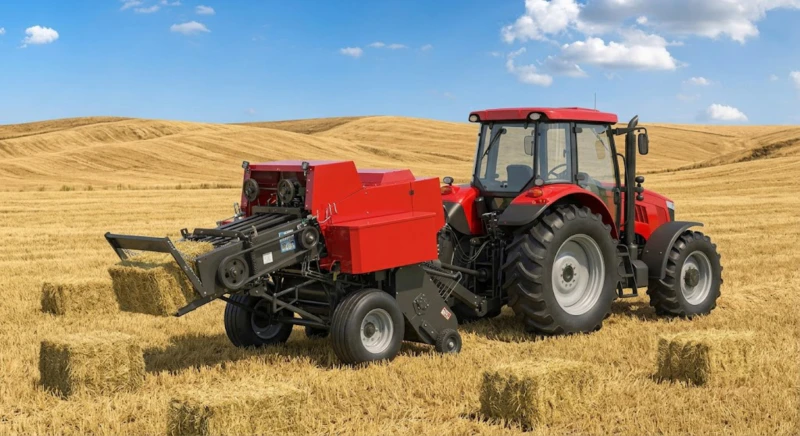
Bill Hook Timing
The bill hook must be at a specific rotational position when the needle presents the twine, and at a specific position when the stripper arm contacts the bill hook tip. These positions are defined in the baler’s operator manual as timing marks — reference lines or notches on the bill hook drive gear that align with fixed reference points on the knotter frame at the correct angular positions.
Check bill hook timing by manually rotating the baler’s main drive (with the tractor stopped and PTO disengaged) until the needle is at its highest point and confirming that the bill hook timing mark is at the specified position. If the mark is not at the specified position, the bill hook drive gear has slipped or the timing linkage has stretched — adjust by repositioning the drive gear on its shaft to restore the correct timing relationship.
Needle Timing and Height
The needle must rise to its maximum height precisely when the plunger has fully retracted and the bill hook is in the capture position. Needle timing that is early (needle rises before the plunger has fully cleared the bale channel) risks needle-to-plunger contact — a catastrophic mechanical failure that bends or breaks the needle and potentially damages the plunger face. Needle timing that is late misses the window when the bill hook is in the correct position to capture the twine.
Check needle timing with the same manual rotation procedure: rotate the drive until the plunger is at full retraction (rear dead centre) and confirm the needle is at or near its maximum height at this moment. Also confirm the needle tip height in relation to the twine disc — the needle tip must place the twine precisely in the bill hook capture zone, not above or below it.
Twine Tension Setting
Twine tension from the tensioner disc on each knotter must be within a specific range. Too little tension allows the twine to go slack at the bill hook, producing loose loops that the bill hook cannot capture reliably. Too much tension prevents the needle from rising fully because the twine path resistance exceeds the needle mechanism’s force. The tension setting is adjusted by the spring compression on the twine disc tensioner — tighten the spring to increase tension, loosen to reduce. As a field check: the twine should resist being pulled through the tensioner disc by hand but not require significant force to pull — approximately 1–2 kg pull resistance is the typical target range.
Pre-Season Knotter Rebuild: What to Replace Before the Season Starts
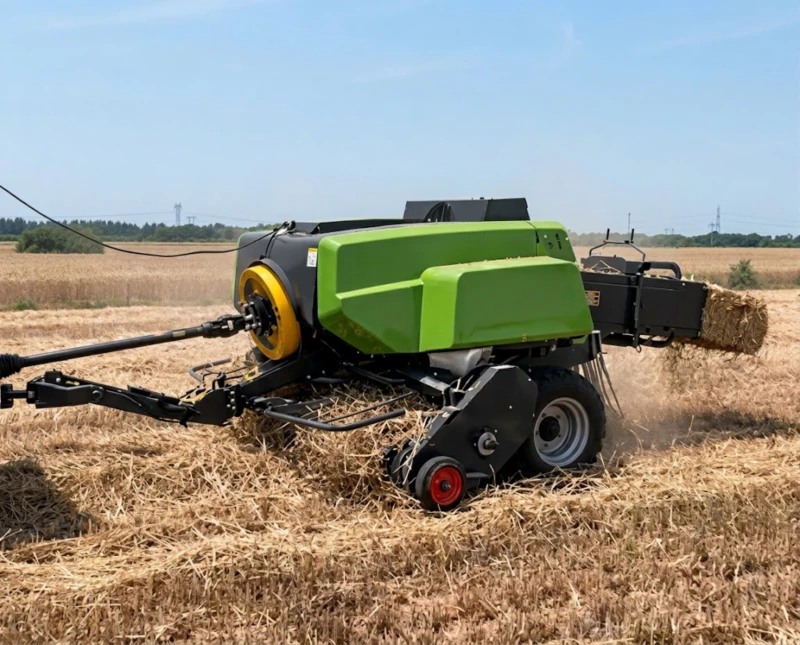
Pre-season knotter rebuild is the planned replacement of all wear parts in every knotter before the season begins, regardless of whether those parts have visibly failed. The principle is the same as for PTO shaft universal joints: wear parts that are approaching their service limit at the start of the season will fail mid-season, when the cost of downtime is highest and parts availability may be limited.
Components to Replace Pre-Season
| Component | Wear Indicator | Replace Interval |
|---|---|---|
| Bill hook | Tip rounding, beak gap increase above 0.5 mm | Every 1–2 seasons |
| Twine disc rubber insert | Groove wear, loss of grip surface texture | Every season |
| Needle guide rollers / bushings | Visible play in needle path, side-to-side movement | Every 2 seasons |
| Knotter knife (twine cutter) | Visible dulling, frayed twine ends after cutting | Every season |
| Stripper arm spring | Reduced contact force, stripper arm hanging loose | Every 2 seasons |
| Twine guide tube inserts | Groove worn through insert wall, twine hanging up | Every 2–3 seasons |
Replacing these components costs a fraction of one day’s lost baling revenue. For a contractor producing 80 bales per day at a commercial rate, a single day of knotter-related downtime generates more lost revenue than the cost of rebuilding all six knotters completely. Budget pre-season knotter rebuild as a fixed maintenance cost, not as an optional expense to be deferred when the components look usable.
Knotter Failure Diagnostic Guide: Matching Symptom to Root Cause
When a knotter fails, the symptom observed provides the primary diagnostic clue. Match the symptom to the most likely cause before opening the machine — this prevents wasted time replacing the wrong component.
| Symptom | Most Likely Cause | First Check |
|---|---|---|
| Missed knot, twine loose on bale face (both ends free) | Bill hook failed to capture twine; or twine disc not holding | Clean bill hook and twine disc slot; check twine tension |
| Knot formed but breaks under bale weight | Twine tension too high; or wrong twine grade for bale density | Reduce tensioner pressure; check twine break load rating |
| Twine wrapped around bill hook instead of knotted | Stripper arm not contacting bill hook tip; timing drift | Check stripper arm spring and contact position; verify timing |
| Twine not cut; bale and next bale connected by uncut twine | Knife blunt or knife holder packed with debris | Clean knife holder; sharpen or replace knife |
| Intermittent missed knots, no pattern (random) | Twine path contamination; or twine quality issue | Full clean of all twine guides; test with new twine roll |
| All six knotters failing simultaneously | Common drive issue; or wrong twine type/gauge | Check knotter main drive shaft; verify twine specification |
| Only one knotter failing, others normal | Individual component failure on that knotter | Full inspection of that knotter only; compare with working knotters |
| Needle bent or broken | Needle-plunger contact from timing error; or foreign object | Replace needle; verify needle-plunger timing before restarting |
| Knots formed but loose / sloppy | Twine tension too low; or bill hook tip worn | Increase tensioner pressure; inspect bill hook tip for rounding |
Perguntas frequentes
How do I know which of the six knotters on my baler is causing missed knots?
The simplest identification method is to observe the position of the missed twine band on the bale. On a large square baler, each knotter ties one twine band at a fixed lateral position across the bale width. Count the twine bands from one side of the bale and note which position the missing or broken band occupies — this corresponds directly to the numbered knotter at that lateral position. On the EP-9YFQ-2290XD with six knotters, the bands are evenly spaced across the bale face; if the third band from the left is consistently missing, the third knotter from the left requires inspection. This lateral position identification is reliable for single-knotter failures. If the missed band position varies randomly between bales, multiple knotters are affected or a common-cause issue (twine quality, drive, contamination) is present.
Can twine quality cause knotter failures even when the knotter mechanism is in good condition?
Yes — twine quality is a significant and frequently overlooked cause of knotter problems. The two most common twine-related failure modes are: first, twine with inconsistent diameter along its length — thicker sections increase friction in the guide tubes and alter the effective tension at the knotter, causing the same intermittent missed knot symptom as a worn tensioner disc; and second, twine with break load below the specified minimum for the bale density being produced. A knot that forms correctly but breaks when the bale is handled is a twine break load problem, not a knotter mechanism problem. Always verify that the twine you are using meets the minimum break load specified in the baler’s operator manual for the density setting in use — increasing chamber pressure for denser bales requires a corresponding increase in twine break load specification.
How frequently should I verify knotter timing in a commercial baling operation?
Verify knotter timing at pre-season overhaul, after any repair that involves removing or replacing components in the knotter drive train, and at approximately weekly intervals during active commercial baling. Timing drift from normal wear is slow — a correctly set knotter will not drift out of specification in a single baling day. However, over a week of commercial use (500–700 bales per knotter), small amounts of wear in the drive gear teeth and linkage pivot points accumulate to produce a measurable timing shift. Weekly verification with the manufacturer’s timing procedure — which takes approximately 20 minutes for a six-knotter machine — catches drift before it reaches the threshold that produces missed knots. Keep the manufacturer’s timing diagram and reference marks laminated in the baler toolbox for use in the field without the full workshop manual.
Is there a difference between knotter maintenance requirements for straw and for hay baling?
Yes — straw baling places significantly greater contamination demands on the knotter system than hay baling. Straw, particularly cereal straw at low moisture content, produces far more fine dust and short-fibre debris than grass hay, and this debris accumulates in the knotter system at a faster rate. In straw baling operations, the daily cleaning that is sufficient for a hay baling day should be supplemented by a mid-day check — stopping the baler at the midpoint of the day’s work and blowing through all knotters before continuing — to prevent afternoon knotter failures from contamination buildup. The twine tension setting may also need slight adjustment when switching from hay to straw, because straw’s lower density requires higher chamber pressure to achieve the target bale density, which increases the twine tension required during the knot formation cycle to prevent the completed knot from being pulled loose by the bale expansion after ejection.
Conclusion: Clean Daily, Check Weekly, Rebuild Annually
The three-layer maintenance programme that prevents knotter failures in commercial baling operations is simple to state and demanding to execute consistently: clean every knotter thoroughly at the end of every baling day; verify timing and tension weekly; and rebuild all wear parts before each season begins. The operators who follow this programme encounter knotter failures rarely and resolve them quickly when they do occur because their systematic inspection has given them a current baseline understanding of the machine’s condition.
The operators who skip the daily cleaning because the knotters are working fine, defer the timing check because there have been no missed knots recently, and carry over last season’s worn bill hooks and twine discs to save pre-season costs — these operators lose baling days to knotter problems every season, in a pattern they describe as bad luck but is actually predictable mechanical failure from foreseeable wear and contamination.
Large Square Balers with Six-Knotter Systems — Factory Direct from Balershay
We supply the EP-9YFQ-2290XD large square baler with six double-knotter system and NT03 electronic control, plus technical support and spare parts supply for knotter components. Visit balershay.com to explore our baler range, or contact our team for knotter parts specifications and availability.